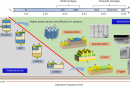


Introduction
In today’s world, security is a top concern for individuals and businesses alike. Whether you want to protect your home, office, or any other valuable property, having a reliable alarm system is essential. In this comprehensive guide, we will explore how to create an Arduino-based alarm system that can be customized to meet your specific needs. With the combination of cutting-edge technology and practical examples, you’ll be able to build a robust security system that will give you peace of mind.
I. Understanding Arduino and Its Capabilities
Arduino is an open-source electronics platform that provides a flexible and cost-effective way to create interactive projects. It consists of both hardware and software components, making it an ideal choice for building an alarm system. Before we dive into the details, let’s briefly understand the key features and capabilities of Arduino.
1.1 What is Arduino?
Arduino is a microcontroller board that uses simple, easy-to-understand code to control various electronic components. It comes with a range of inputs and outputs, allowing you to connect sensors, actuators, and other peripherals to create interactive systems.
1.2 Why Choose Arduino for an Alarm System?
Arduino offers several advantages when it comes to building an alarm system. Firstly, it provides a vast community of enthusiasts and developers who share their projects and knowledge, ensuring that you have plenty of resources and support. Additionally, Arduino’s versatility allows you to integrate a wide range of sensors, such as motion detectors, door/window sensors, and smoke detectors, enabling you to create a comprehensive security setup.
II. Components Required for Your Arduino Alarm System
Before getting started, let’s gather the necessary components for building an Arduino alarm system. Here are some essential components you’ll need:
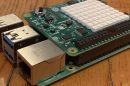
2.1 Arduino Board
To begin, you’ll require an Arduino board, such as the Arduino Uno or Arduino Mega. These boards serve as the brains of your alarm system, allowing you to program and control various connected devices.
2.2 Sensors
Sensors are critical for detecting events and triggering the alarm. Depending on your requirements, you can incorporate a variety of sensors, including:
2.2.1 Motion Sensors
Motion sensors, like the popular PIR (Passive Infrared) sensors, detect changes in infrared radiation caused by movement. They are commonly used to detect intruders or unauthorized access.
2.2.2 Door/Window Sensors
Door/window sensors use magnetic contacts to detect if a door or window is open or closed. They are useful for monitoring entry points and triggering alarms if a breach occurs.
2.2.3 Smoke/Fire Sensors
Smoke/fire sensors are crucial for fire detection. They can detect smoke particles or sudden temperature changes, enabling timely alerts and preventing potential disasters.
III. Building Your Arduino Alarm System
Now that we have a good understanding of Arduino and the required components, let’s dive into building the alarm system. We’ll break down the process into several steps:
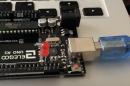
3.1 Step 1: Setting Up the Arduino Board
Start by setting up your Arduino board. Connect it to your computer using a USB cable and install the necessary drivers. Then, open the Arduino IDE (Integrated Development Environment) and ensure that the board is properly recognized.
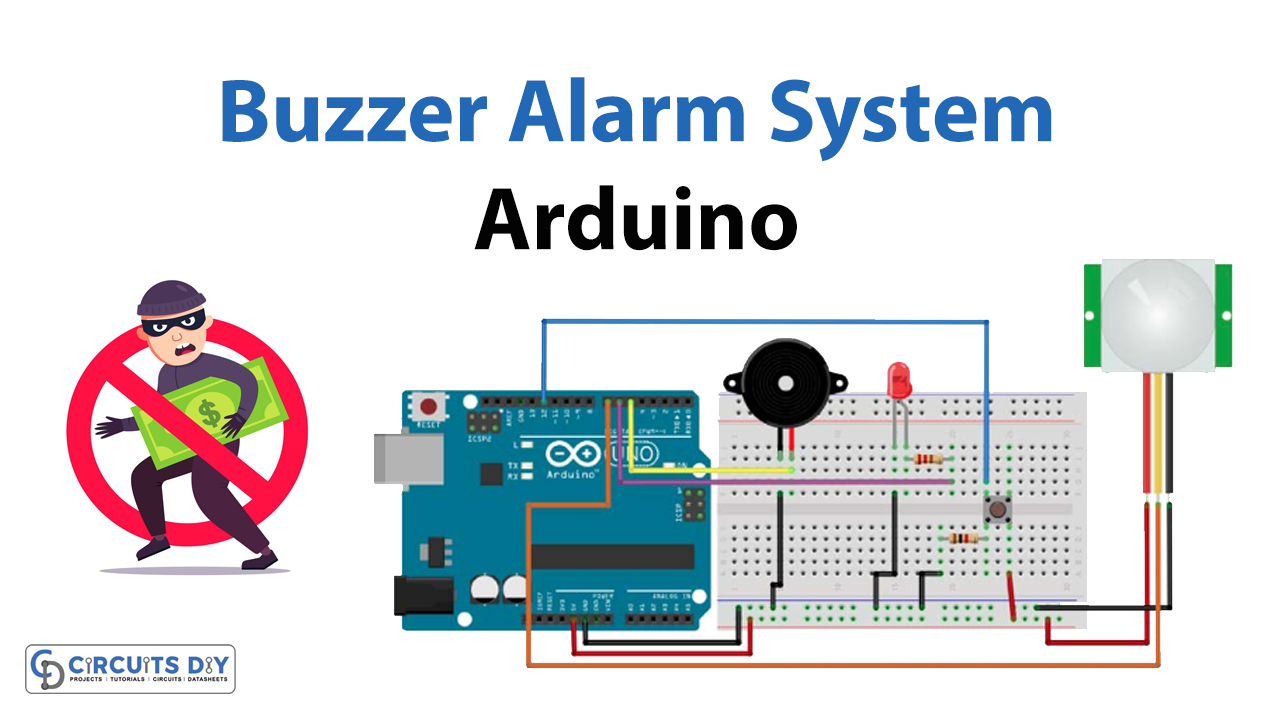
3.2 Step 2: Wiring the Sensors
Next, wire the sensors to your Arduino board. Refer to the datasheets and pin configurations of each sensor to connect them correctly. Use jumper wires to establish the necessary connections, and double-check your wiring to avoid any issues later on.
3.3 Step 3: Writing the Code
Now comes the exciting part: programming the Arduino! Use the Arduino IDE to write the code that will control the sensors, monitor inputs, and trigger the alarm. You can leverage existing libraries and examples to simplify the coding process, saving time and effort.
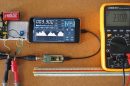
3.4 Step 4: Testing and Integration
After uploading the code to your Arduino board, it’s time to test the system. Validate the functionality of each sensor and ensure that they trigger the desired responses. For example, when a motion sensor detects movement, the alarm should sound, and a notification should be sent to your mobile device.
IV. Enhancements and Advanced Features
While you now have a functional Arduino alarm system, there are numerous enhancements and advanced features you can consider incorporating. Let’s explore some possibilities:
4.1 Remote Monitoring and Control
With the advent of IoT (Internet of Things) technologies, you can extend the capabilities of your Arduino alarm system by enabling remote monitoring and control. By connecting your system to a network, you can receive alerts on your smartphone, monitor sensor status, and even arm/disarm the alarm remotely.
4.2 Integrating a Camera Module
To enhance the security and provide visual evidence, you can integrate a camera module into your alarm system. This allows you to capture images or record videos when triggered by specific events, such as motion detection.
4.3 SMS and Email Notifications
In addition to sounding an audible alarm, you can configure your Arduino system to send SMS or email notifications to predefined contacts when an intrusion or other critical event occurs. This ensures that you are instantly informed, even if you are not physically present at the location.
Conclusion
In conclusion, building an Arduino alarm system provides an excellent opportunity to combine your technical skills with practical security applications. By following this comprehensive guide, you can create a highly customizable and cost-effective solution tailored to your specific needs. Remember to consider the required components, properly wire the sensors, write efficient code, and thoroughly test the system before deployment. With the endless possibilities for enhancements and advanced features, your Arduino alarm system can be a robust defense against intruders and a valuable asset for ensuring the safety of your property. As the famous inventor Thomas Edison once said, “There is no substitute for hard work,” so roll up your sleeves, unleash your creativity, and start building your Arduino alarm system today!